Designing a Booth to Fit Brand Objectives: From Briefing, Concept Creation, to Design Review

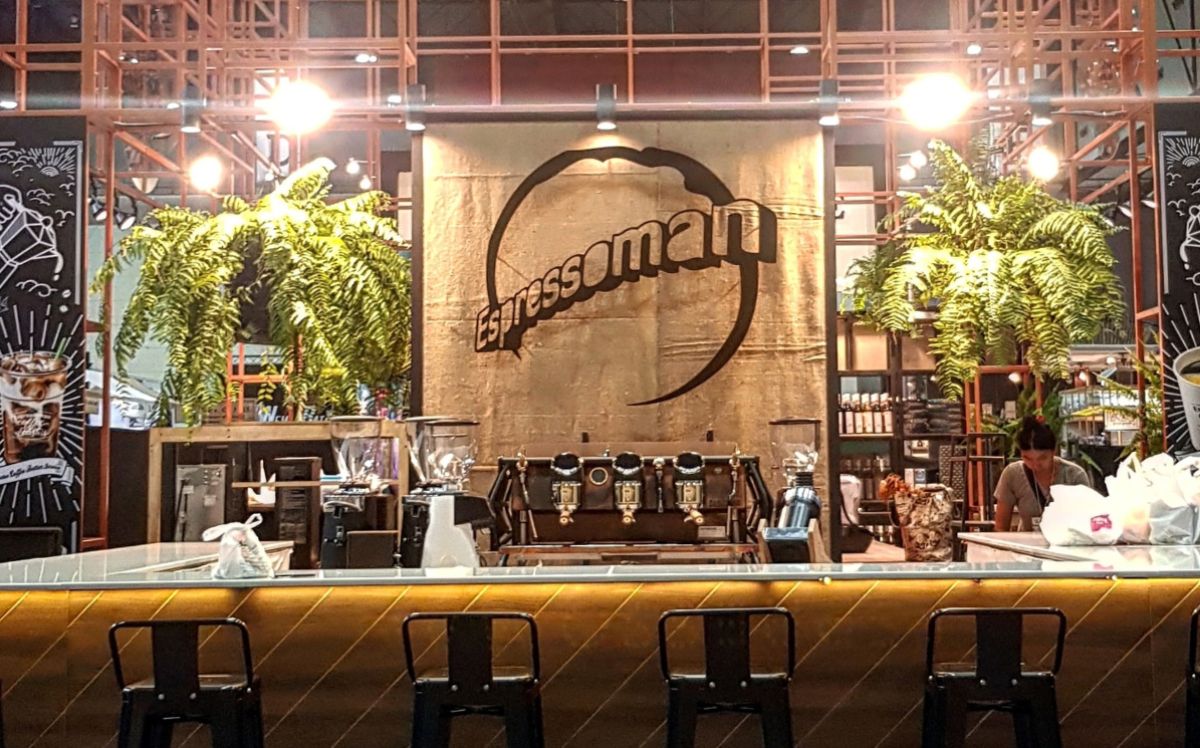
Booth design should begin with understanding event goals, the target audience, and the desired actions from visitors. By taking the existing Brand Corporate Identity (CI) which defines the brand's color, tone, and visual identity as the core challenge, it becomes Bunjerd's responsibility to conceptualize and develop the Design Direction. This creates a distinctive brand presence while building authentic real-life experiences through in-booth activities that seamlessly support product presentations and team operations.
For brands preparing to participate in exhibitions, a clear brief gives the design team a shared point of reference during discussions. This article compiles essential information to prepare, methods to transform challenges into concepts, and a design review checklist before passing the design on to production.
Before Designing a Booth, What Goals Must Be Clearly Defined?
Start with the question: "When the event ends, what outcome do we want?" The answer should be more specific than just wanting a pretty booth or high foot traffic for example, wanting visitors to understand a new product, try using it, or schedule a sales meeting.
|
Main Goal |
Desired Audience Action |
Challenge for Design Team |
|---|---|---|
|
Product Launch |
Understand how the product solves problems |
Make core products and key messages clearly visible |
|
Create Business Opportunities |
Engage in conversation and schedule next steps |
Support information sharing and meeting spaces according to the event format |
|
Provide Product Demos |
Test and inquire about details |
Accommodate demonstration equipment, testers, and support staff |
|
In-Event Sales |
Select products and complete purchases |
Support product display, customer service, and delivery |
If there are multiple goals, prioritize them first, as space and budget may not support all activities at the same level. Then specify who the primary audience is, how much they know about the product, and what questions need answering.
This information helps the team decide whether to present an overall brand overview, in-depth product details, or hands-on trial experiences as the starting point.
What Information Should a Booth Design Brief Include?
Sample images help explain preferences, but they should be sent alongside actual usage requirements. The following table serves as a checklist for brief preparation:
|
Topic |
Details to Prepare |
|---|---|
|
Event & Venue |
Event name, dates, location, installation, and dismantling periods |
|
Booth Space |
Size, booth/location number, open sides, and floor plan provided by the organizer |
|
Goals & Audience |
Primary goals, target audience, and desired audience actions |
|
Products & Activities |
Display products, equipment dimensions, demo formats, and activities |
|
Brand & Content |
Logo, brand guidelines, key messages, product images, and required languages |
|
Team / Staff |
Number of staff, roles, and service format inside the booth |
|
Budget |
Budget framework and covered items, e.g., design, production, or additional equipment |
|
Decision Making |
Information providers, design approvers, deadlines, and pending decisions |
Attach the exhibitor manual for that event right from the beginning, and let the team verify restrictions directly with the organizer. For example, IMPACT has specific regulations regarding space planning, construction, and venue systems; therefore, designs from previous events should not be reused assuming conditions are identical (IMPACT Exhibition Center Rules and Regulations).
If certain information is not yet ready, mark it as "Pending Confirmation" along with the responsible person and expected timeline, rather than leaving the design team to interpret it as a conclusion.
How to Translate Brand Briefs into Booth Concepts?
Choose a Key Message to Remember
Try summarizing in a single sentence who the brand helps, what problem it solves, and what visitors should remember. This sentence will serve to check whether the booth layout, imagery, and selected content support the same story.
Style terms like "modern" or "premium" should be followed by explanations of what value needs to be conveyed, the image desired, and which design elements will express that value. Providing reference images with rationale helps build mutual understanding better than sending multiple images without prioritization.
How Design Solves Problems and Creates Innovative Booth Solutions
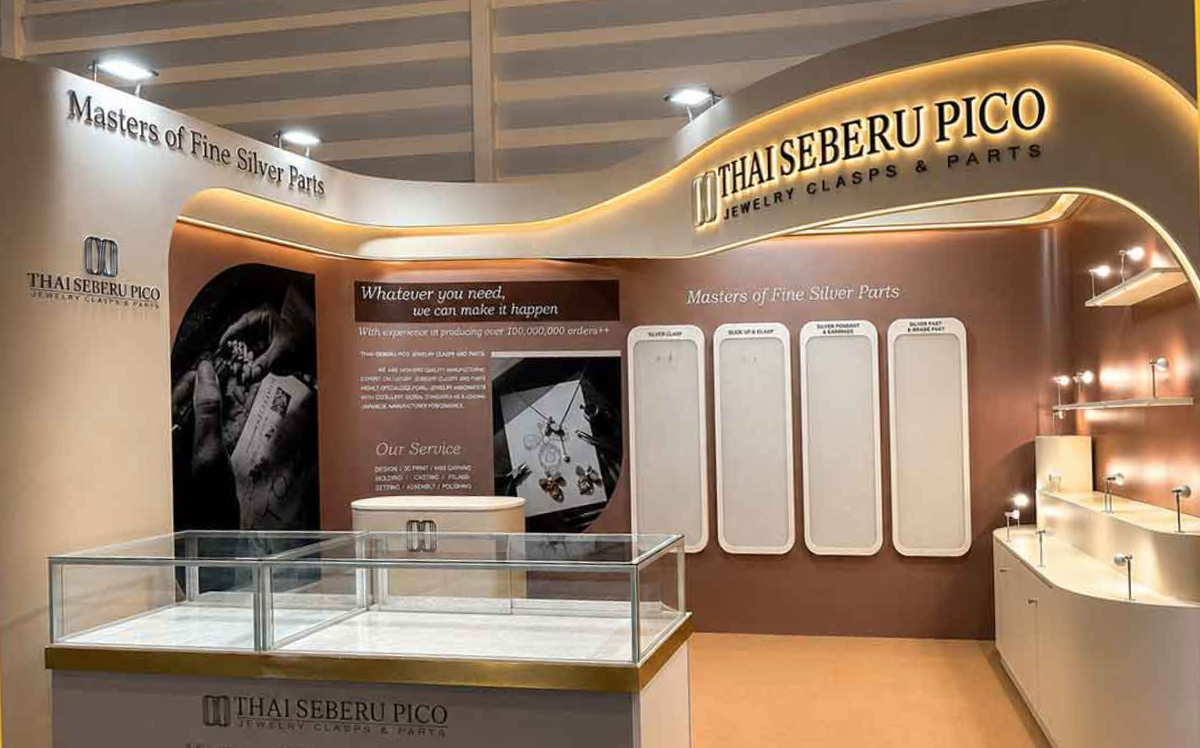
Real Client Example with Space Constraints Needing to Display Many Products:
A jewelry parts manufacturer client with a limited space of only 18 sq.m. needed to build a credible image while showcasing a large quantity of jewelry parts.
Bunjerd's design team started by defining the Brand Identity direction, guiding the client on color usage, typography, and visual direction to communicate craftsmanship and expertise under the concept "Master of Craft fine silver part." They designed the layout functionality for the limited space to deliver a strong Key Visual Impact and a product display area that elevates perceived value on par with a counter brand.
Comparing Concepts Using the Same Criteria
When receiving multiple directions, compare them based on the Big Idea: Does the concept solve space constraints while creating brand image and delivering an experience that answers objectives? Then consider message clarity and support for activities to ensure decisions are backed by clear reasoning and the team can proceed effectively.
Which Elements Ensure a Concept is Functionally Viable?
Concepts should connect with visitor experience and practical staff workflows. Evaluate the following overall elements:
- Attraction and Visibility: Passersby should immediately know what the booth presents and why they should stop. At this stage, identify what needs to stand out. Details on using signage, demonstrations, and activities to attract visitors can be developed from this challenge.
- Space and Activities: The design must accommodate actual products, equipment, visitors, and staff completely. Guidelines on booth layout planning help detail activity placements and operational conditions.
- Audience Needs: First-time brand discoverers may need different information than scheduled meeting participants. Mapping the Event Customer Journey helps identify what information or next steps the booth should support.
- Presentation Format: If planning tailored content or demonstrations based on interests, specify what the booth must support, such as equipment, staff, and information selection channels. Using data to tailor in-booth experiences requires evaluating system readiness simultaneously.
Booth Design Process from Brief to Approval
Although project processes vary, establishing shared decision points reduces rework and keeps clients informed about when to prepare data.
|
Step |
Questions to Answer |
Required Outcome Before Proceeding |
|---|---|---|
|
1. Receive Brief |
What are the goals, audience, products, space, budget, and timeline? |
A brief separating confirmed information from pending decisions |
|
2. Analyze Challenge |
What is most important, and what constraints conflict? |
Priority order and list of questions requiring further answers |
|
3. Develop Concept |
Which concept communicates key messages and supports experience? |
Visual direction, mood/tone, and conceptual rationale |
|
4. Develop Layout & Visuals |
How do products, activities, visitors, and staff interact? |
Layout and visuals verifiable against real-life operations |
|
5. Review Budget |
Which design parts impact cost, time, or regulations? |
Adjustment list maintaining core objectives |
|
6. Approve & Hand Over |
Which design is the final version, and what remains pending? |
Approval set, responsible leads, and production handover checklist |
Feedback should reference goals and briefs; for instance, "expand space for two people to test simultaneously" is clearer than asking to "make it look more interesting." If feedback from different parties conflicts, the approver should decide based on agreed goal priorities rather than combining all requests and losing focus.
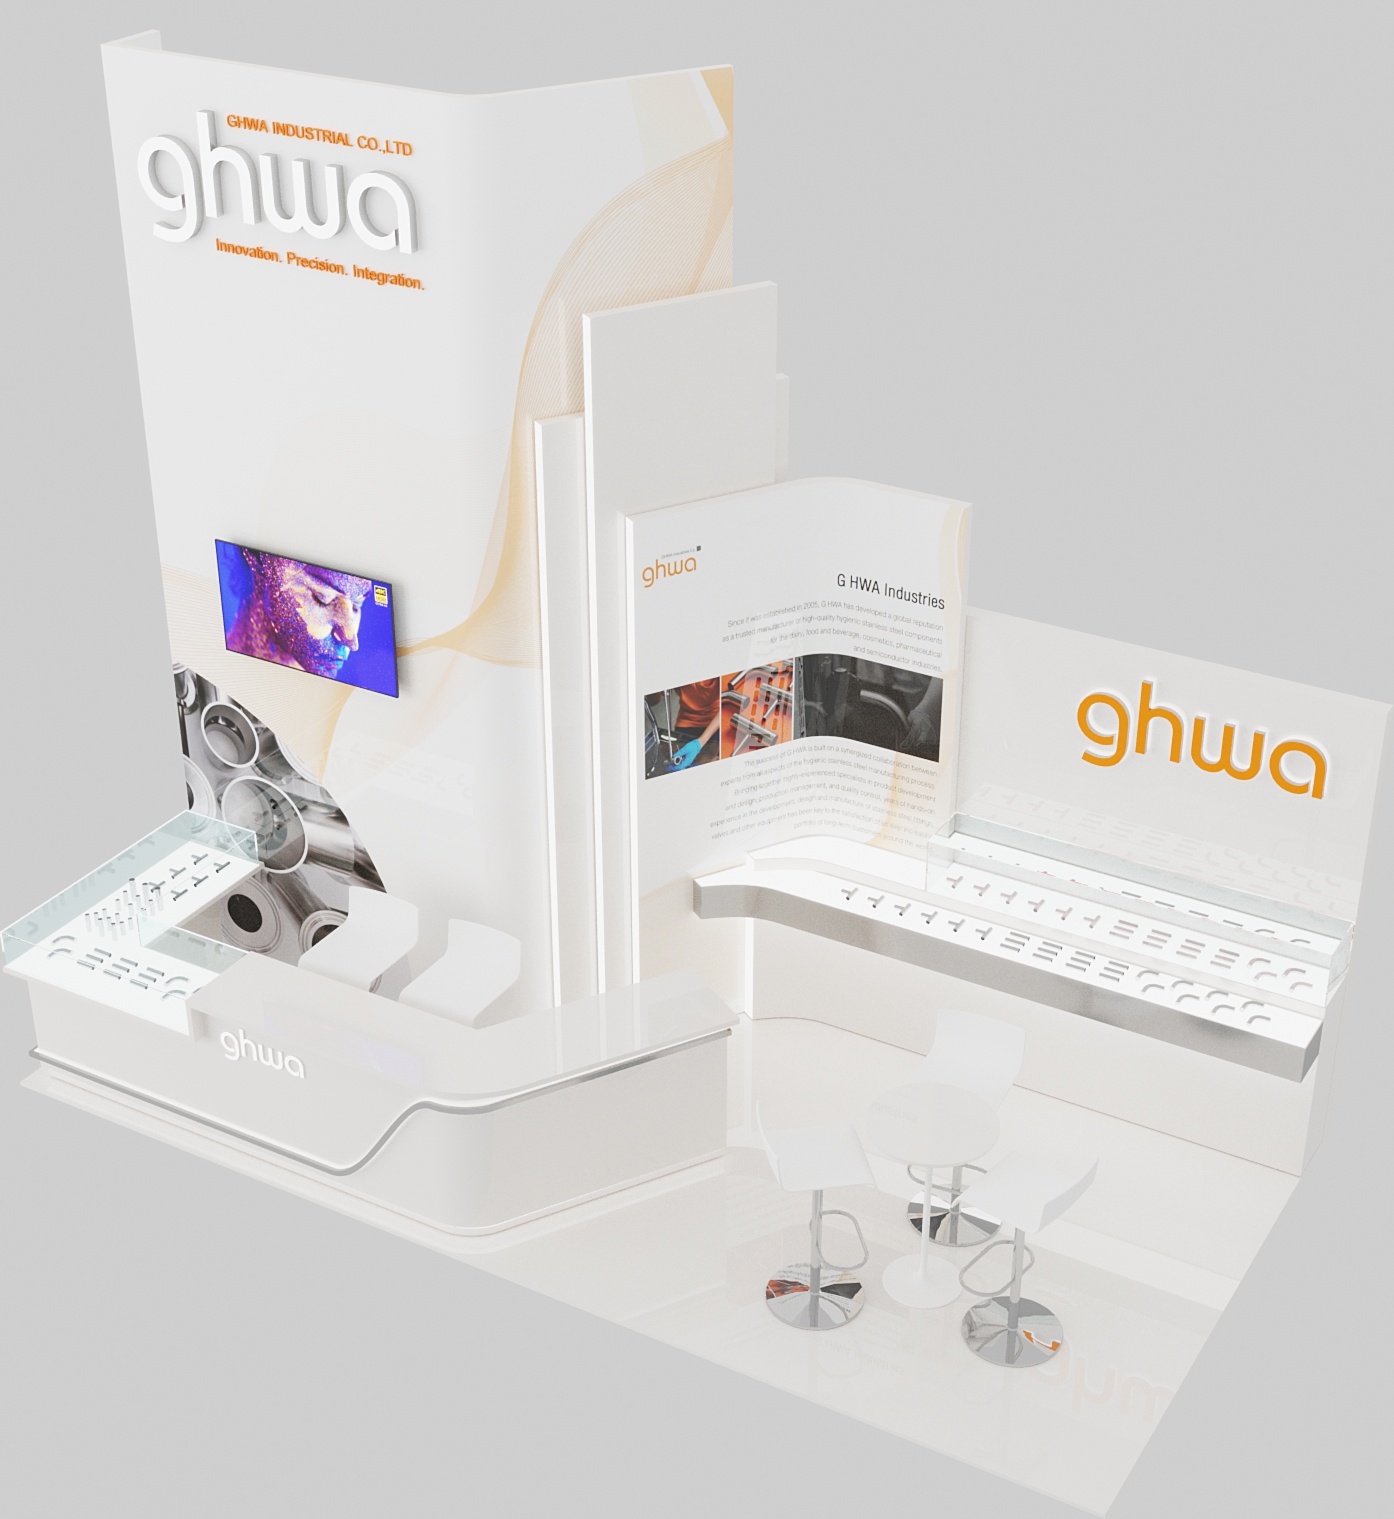
Designing Small Booths to Stand Out Without Overcrowding
Give focus to small booths, which often face space and budget constraints. An ideal starting approach is selecting one primary Key Message, one core product, and one main activity first, then evaluating shared space options.
Small booths do not need to scale down every element of a large booth. Eliminating parts that do not support goals yields clearer results. For example, if demonstrating products, reduce seating areas and use appointment systems instead. If negotiating deals, use selected sample items instead of displaying every piece.
Key pitfalls include large counters blocking entrances, multi-layered text that cannot be read quickly, and screens or equipment occupying space without contributing to the journey. Final decisions on placement and operational clearance should be reviewed further in the booth layout article.
How to Review a Booth Design Before Approval?
Use the brief as a reference checklist, then review designs from both visitor and staff perspectives. Do not rely solely on a single camera angle; request additional perspectives or detail close-ups for unresolved areas.
- Brand: Are key messages and highlighted products clearly visible? Do logos and content match approved files?
- Activities: Does every activity have assigned space and equipment support? Are required items missing from the design?
- Team/Staff: Can staff provide info, retrieve equipment, and manage products according to actual workflows?
- Constraints: Have venue dimensions and regulations been verified? Which points require organizer/expert confirmation?
- Handover: Which design draft is the latest version, and which materials, graphics, or equipment remain pending?
Consolidate feedback into a single set, noting locations, problems, and expected outcomes. For instance, "sample placement area does not accommodate the quantity needed by the sales team" is far more actionable than "make it look better."
Frequently Asked Questions About Booth Design
1. If the booth space is small, how should brief preparation differ from general booths?
Use the same information set, but prioritize more strictly which products or activities are essential. Specify real dimensions, number of active staff/users, and items that can be cut if space is insufficient. Let the design team verify feasibility against floor plans and event rules. Entrance placement, demo spots, and discussion areas should be detailed specifically in layout guidelines.
2. Is having only photos of liked booths sufficient for a brief?
It works as a conversation starter, but specify which elements you like and why, alongside goals, space, products, activities, and budget, so the team can develop concepts suitable for your event.
3. If activity details are not yet known, where should design begin?
Start with goals, audience, core products, and known constraints. Then list candidate activities with decision deadlines. If activities significantly affect space or equipment, inform the team before diving into design details.
4. Prior to design approval, which departments should participate in the review?
Brand managers, actual booth users, and production/installation teams should review their relevant areas. Clearly define a feedback consolidator and final approver so the team works from a single conclusion set.
5. Should budget be defined before starting design?
Define a budget framework and covered scope so the team can choose feasible concepts and detail levels. If final figures are unknown, provide a budget range, non-negotiable items, and flexible elements instead of unconstrained designing followed by later cuts.
6. Are Booth Design and Exhibition Design the same thing?
Booth Design typically refers to a brand's booth space, whereas Exhibition Design can broadly encompass exhibition spaces, trade shows, or multi-section experiences. Clearly specify the scope each time without using the terms interchangeably.
7. What is the most common mistake before approving a booth design?
A common mistake is approving from a single 3D view without checking actual product dimensions, team workflows, venue regulations, graphic files, or pending approval lists. Always review designs against briefs and operational scenarios before production handover.
Summary
Effective booth design starts with a good brief and adherence to Brand Corporate Identity (CI). Bunjerd acts as a Design Strategic partner, helping craft designs that satisfy both branding and marketing objectives while delivering brand experiences through practical spaces and functional activities. Clear briefs ensure teams decide on consistent data, while structured approval steps minimize rework. Before production handover, confirm the latest design set, finalized materials and equipment lists, and assigned task owners.
If you are preparing a booth design, gather event information, space specifications, goals, and products to present, then contact Bunjerd to discuss design approaches and service scopes tailored to your brand's objectives.
GET IN TOUCH
Our expert team will get back to you promptly.